Hello again! It’s been a bit since I posted my last blog so I will do better at keeping you in the loop on what’s going on.
I have received many inquiries as to where I purchased an art collection of botanicals showcased in a recent staging project. Here’s the great news, I did it myself, and I will walk you through the steps of creating your own collection for around $60 and a little manual labor.
My inspiration came from a beautiful collection of 6 made by Uttermost as found here on Amazon priced for well over $200.
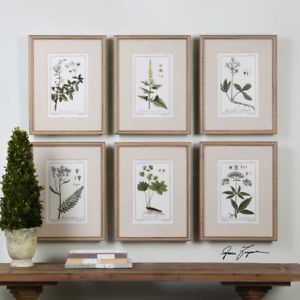
While I loved these, I was not about to pay that much money for six framed pictures when I knew I could achieve the perfect look I wanted for much less.
Here are the Items you will need for this project with the links if you wish to shop them.
- Oak Wall Frames (Only buy them when they’re half off, which is every other week) 12 x $2.99 = $35.88
- Matte Frames from Amazon (Yes they’re Prime!) $19.96 for 25 mattes (you could probably hunt for less, but I found these to be of good quality)
- Heavyweight Cardstock (for Printouts) at Michael’s. Don’t forget to use the 40% off one item coupon to get the cost down to $2.99
- Acrylic Paint (White) $0.46 if you use the 40% off one item while you’re picking up those frames!
Total Shopping List Cost = $59.29 plus applicable taxes in your area
Now tell me where are you going to find a set of 12 11×14 Botanical Prints for around $60?
Once you’ve gathered all the supplies, go to this website and download the prints for an 8×10 format. I used some prints from two of her collections (links here and here). There are many others on her website to choose – so look around and find what you like best…
The Assembly:
- Select your 12 prints and print them onto the Cardstock you purchased
2. Take your frames apart, grab a damp handful of paper towels and apply a bit of the white acrylic paint to the towel and rub it in a bit. Apply the towel over the frame until you’ve reached desired washing (if the paint is too thick simply take a wet cloth and rub off excess paint) – My approach was an aged white washing effect. Once desired look is achieved set frames aside to dry and clean the glass surfaces well and carefully (those edges are not forgiving)
3. Insert glass back into frames
4. Take printout and place a piece of scotch tape on the top of the back of printout leaving a strip of the sticky tape side exposed above the printout
5. Place matte over printout slightly elevated as to not allow tape to adhere yet. Align the printout as you’d want it to appear within the matte and press the matte down allowing the tape to adhere. Gently turn the matte and attached printout over and apply another piece of tape at the bottom to ensure no movement once placed into frame
6. Place the matte and print in the frame and insert cardboard backing, press down pins to secure it within frame and install included frame mounting hardware
7. Follow steps 4 through 6 again 11 times and you’ve just created a beautiful art collection that will receive plenty of compliments and it didn’t break the bank!
This is the finished look!

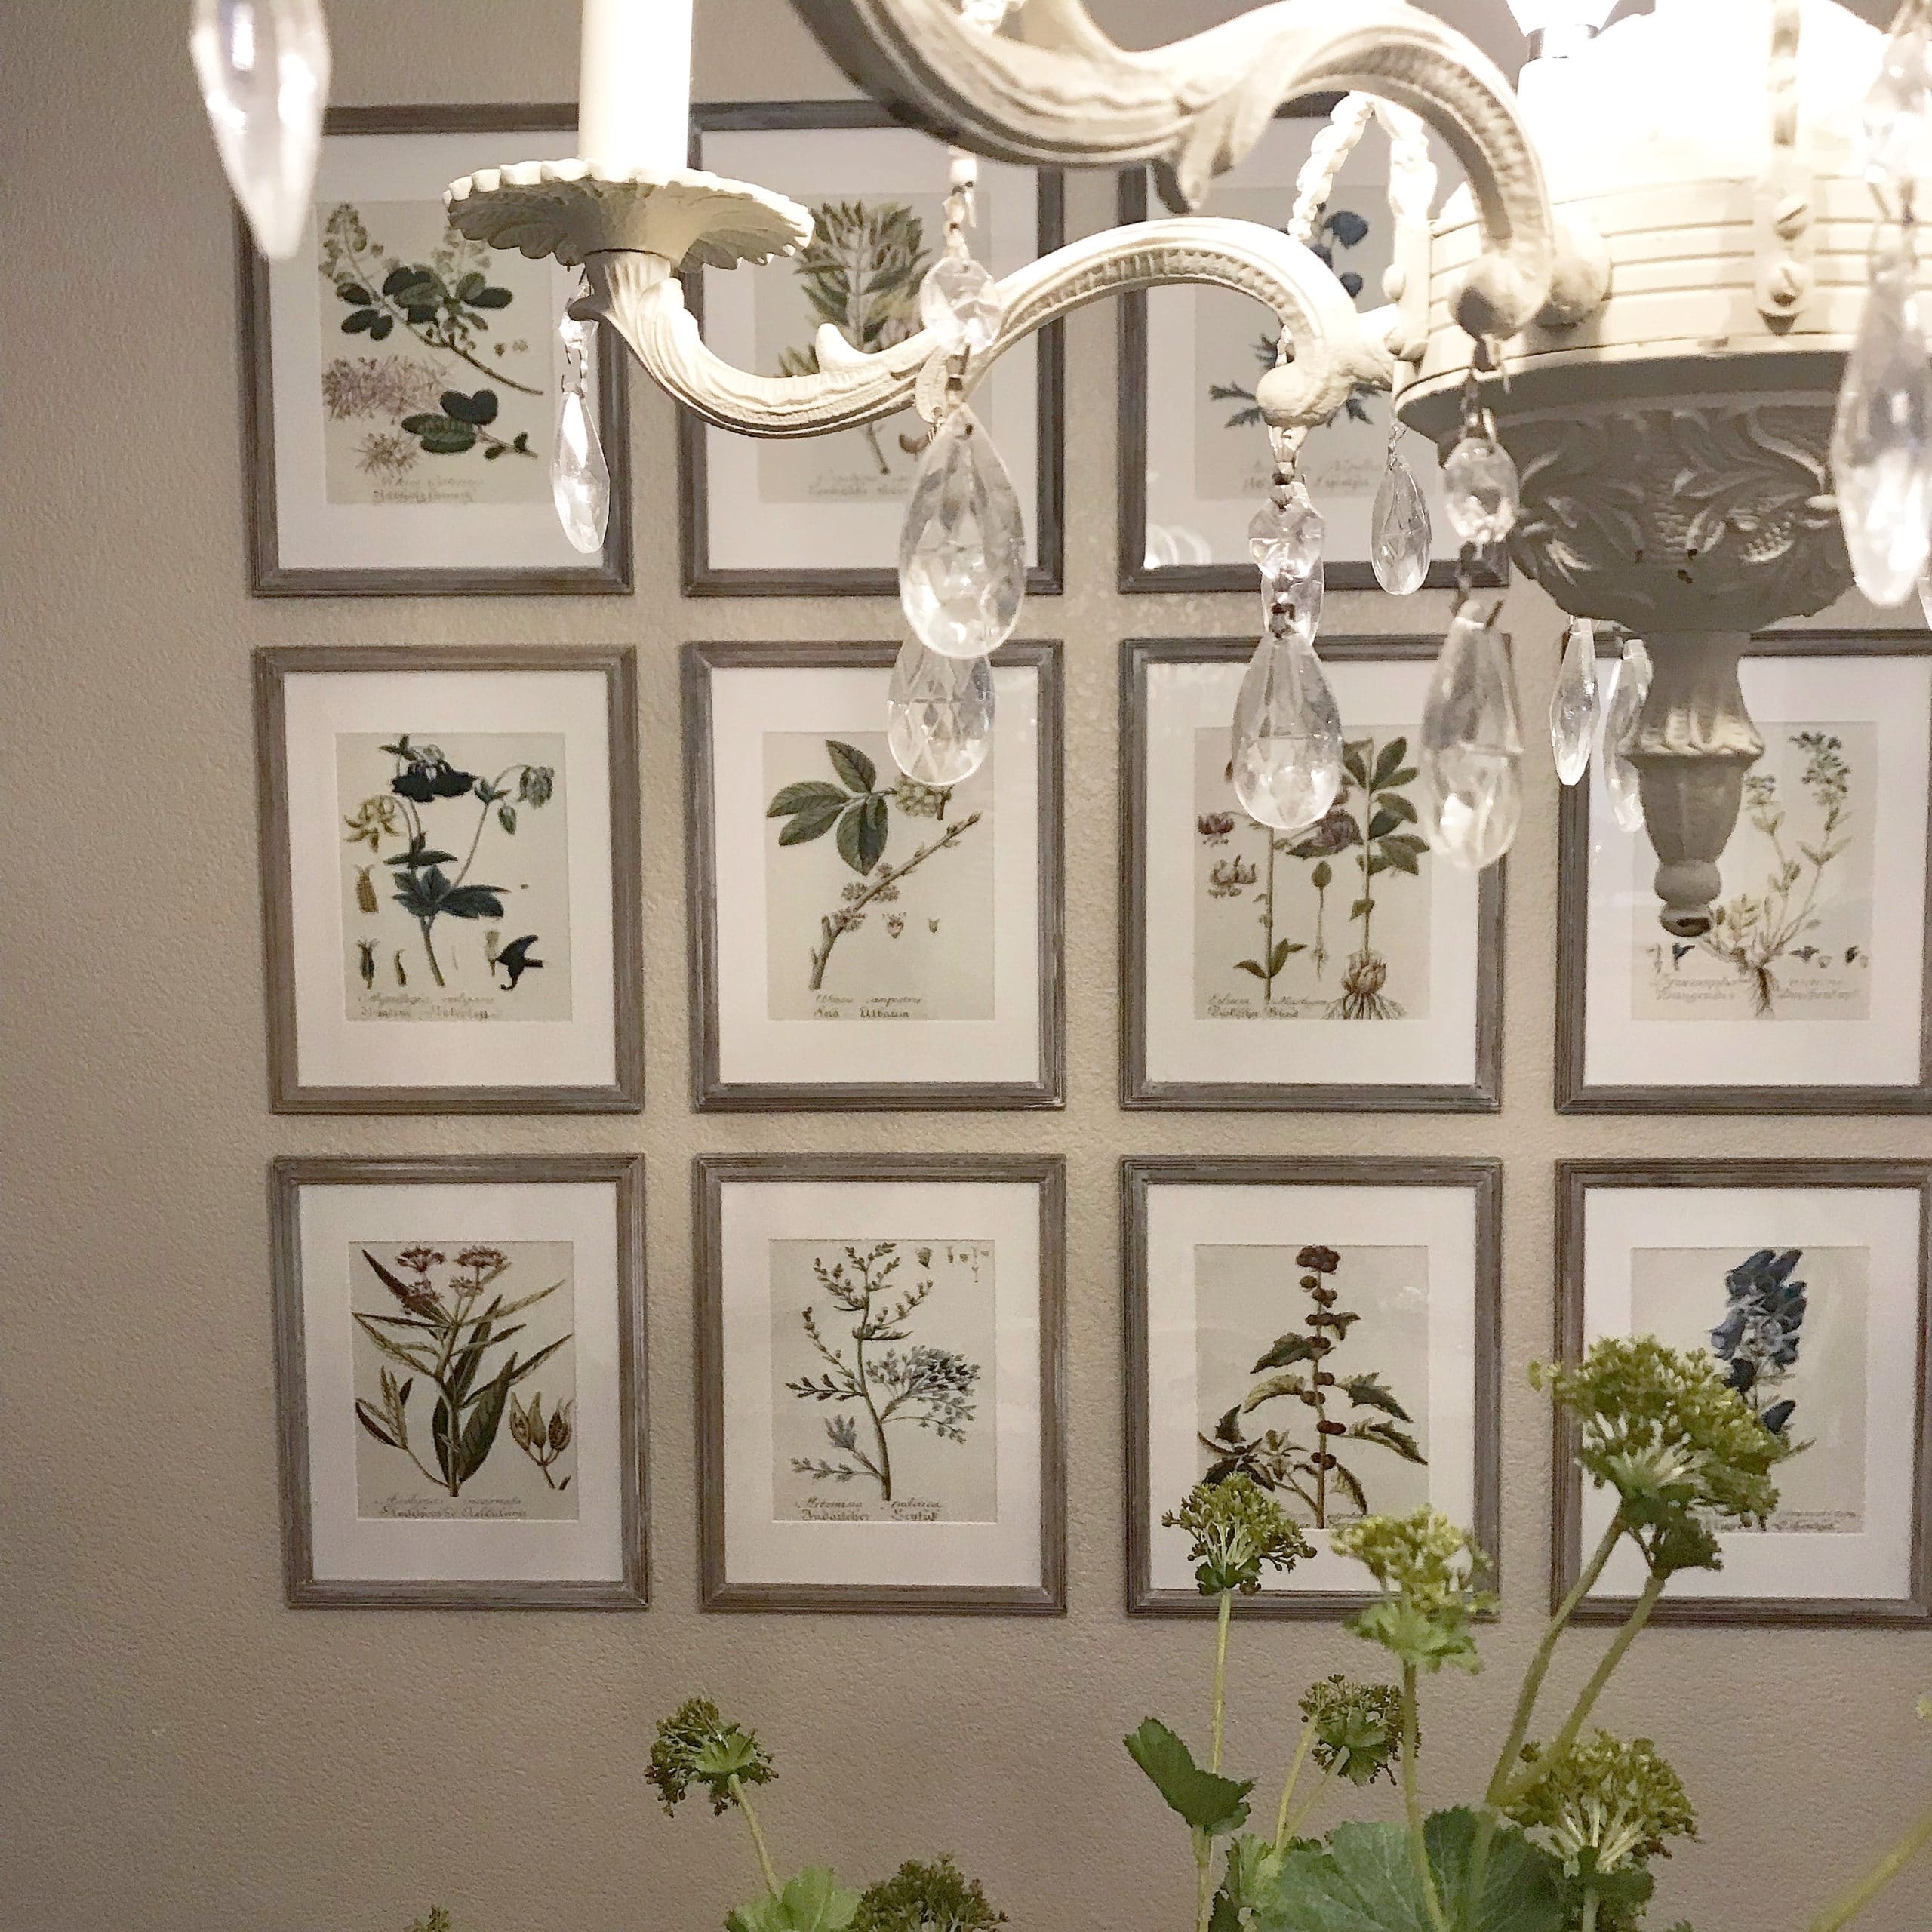
I really enjoy making these types of projects and they’re perfect to stage homes since you can achieve a higher end look by a fraction of the cost. They will also look fabulous on your own home.
Let me know how yours turned out if you try them or if you have any questions along the way.
If you need a little help getting your home picture perfect or if you’ve been thinking about putting your home on the market, give us a call to see how we can help!
I hope you enjoyed this post and stay tune for more.
Until next time,