Hello and welcome to Maison de Campagne’s first blog. I am Mitchell Bage and I plan to share a little about my passion in each of these posts.
There are so many aspects of home design that individuals can feel overwhelmed at the idea of having to find the perfect medium for their desired outcome. Let’s stop here and say that it’s a very subjective process and what works on paper, in a store, or laid out on the kitchen table doesn’t always translate to the expected look you’re trying to achieve.
One area I struggle with as a designer is FURNITURE! Have you gone through countless stores and found everything you needed for the space you are working? I always find great items but fall short on a few “Key” pieces I just won’t compromise on.
I had decided that it was time to begin work on my master bedroom. My design plan included a dresser that looked as though It had been plucked from a home in the French countryside. Thankfully we have a plethora of choices when it comes to specific design genres, so my hunt was underway. I became very picky, This one was nice, but it was made almost entirely of MDF and while “Hand Painted” I thought about longevity of the piece. I found reclaimed pieces, but then found out I’d need to take a second mortgage out on the house to purchase said dresser.
I dropped the approach of looking for new pieces and decided “I can hand paint what my mind is envisioning and so many of these vintage and antique pieces are truly hand built and full wood construction”. I scoured through posts and classifieds looking for a French inspired piece that would transform into what I needed. That dresser was found by a friend, she snapped a pic and I said SOLD!
Now here’s my transformation as well as a how-to for those of you in the same situation.
Here’s the original dresser. It’s an early 1960’s piece from Bassett with all wood construction (and quite heavy for it’s size), with an original stained and veneered finish. I will note that it was in such great shape you could have used as-is and been happy.
**Please know that while this piece was in great shape it did have a few issues that were corrected and no priceless antique was harmed in this redesign**

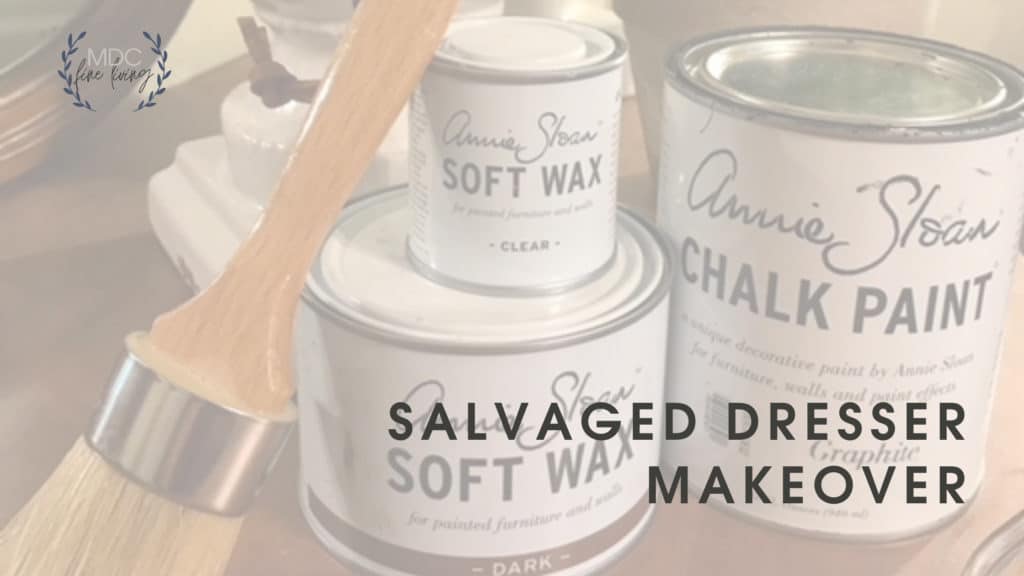
Now Here’s My Transformation (these steps are really geared toward my using Annie Sloan Chalk Paint®, my preferred brand)
PAINTED AND STAIN FURNITURE MAKEOVER:
STEP #1
Decide what finishes you want the piece to have. Will you keep existing hardware, or replace it with something style specific? Will you leave a raw wood look, age it, stain, paint, etc.
I decided that I wanted a mixture of mediums. I love Annie Sloan Chalk Paint® and Waxes. (Why?That’s going to have to be a blog all of it’s own). After reviewing the different options, I settled on Graphite for the main color and was still a little unsure on whether or not to sand and re-stain some pieces or use multiple layers of paint for that aged “French countryside” look I love.
STEP #2
Remove all hardware from furniture, then remove drawers (I used a piece of painters tape and numbered each drawer as well as each slot I pulled the drawer from) this helps especially on handmade furniture since no two are perfectly alike and after years of opening and closing, they’ve all got their own specific wear marks/grooves for ease of use.
STEP #3
Clean the furniture well, making sure to remove dirt and oils completely. This is a must if you’re using these types of paints so that the finish is smooth and no crackling occurs.
STEP #4
Paint areas desired with the Chalk Paint®. *Note that this specific paint does NOT require any sanding (there are very few prep requirements for this awesome paint, one of the reasons why I love to use it)


Please note that with Annie Sloan Chalk Paint® you shouldn’t overwork it by putting too much on the surface, get a coat on wait 10 to 20 minutes and apply a second coat, you will see almost total coverage at the second coat. For my desired look I did not want to have a solid coated finish. I allowed a few areas of the original finish to “peek” through the brush strokes.
STEP #5
This step can be skipped if you do not wish to age or distress the surfaces any.
I used sandpaper (preferably 180 to 200 area) and highlighted carved areas, exposed ends and protrusions that would naturally lose their finishes over decades of use.
There are NO wrong ways in distressing, if you’re enjoying the look you are ultimately going for and if you’ve made a mistake, take the paint back out and apply a coat over the area and try again (after it dries, of course)
STEP #6
Once I painted the base and drawer fronts I wanted a warmer take on the Graphite color. I used Annie Sloan Dark Wax and applied it to the painted surface. Take care in not applying too much of the product as rubbing too aggressively may pull the painted surface, also the wax dry time will increase. Once wax has dried (I gave it a few hours) come back with a dry cloth and buff the surface. This will give it a satin finish as well as coat the paint against elements.
STEP #7
I then decided that I would leave the top stained, but the original stain/varnish was not to my liking. I took a sander to the top and removed the poly and stain down to the bare wood. Take caution because even though this was a vintage all wood piece, the top was covered with a wood veneer (while pretty thick). You can sand too aggressively and take it off. Once it was all removed, I cleaned the surfaces free of dust and debris and used yet again the Annie Sloan Dark Wax as my wood stain. I let this dry, buffed it, then applied Annie Sloan Clear Wax over the dark (not required but I wanted it to hold up even more than I planned for)


STEP #8
Once the dresser top wax (stain) dried, I did a quick buff. I took the previous hardware I had removed and gave it a quick scrub with toothpaste to remove some of the tarnishing (not enough to restore it to its original perfect finish since I do want to keep that aged look), then cleaned the hardware with dish soap and re-installed them onto the furniture
STEP #9
Re-Assemble the furniture and take a step back. Did it meet the goals I had set for the look of the piece? If yes, then voila! If not, then here’s where I can retouch the areas that need more work or sand a bit more in areas where the distressing is not enough (remember to then re-apply some dark wax over it to seal it and complete the look).
THE END RESULTS


I loved the outcome of this project. I now have a special piece for the bedroom with all the character and timelessness that I was looking for.
Breakdown of cost for this stunning makeover:
- $150 for the dresser (local resale shop)
- $39 for the paint (which I only used a small portion of)
- $15 for the Dark Wax
- $15 for the Clear Wax
- $10 Sandpaper – I own a sander but you can sand it by hand or invest in an inexpensive finishing sander
Total Project Cost = $229
Total Time – Weekend Project (2 days)
I hope my process has provided a little insight into alternative ways in getting that perfect furnishing you hunt for but is either just a little off from your expectation or out of budget.
If you have a project that feels too overwhelming or you just need some insight on where to start, let us know and we can help. The challenging projects are always the most rewarding when finally conquered.
I’d love to hear what you think of this dresser and if you’ve ever painted and stained before. If you have any Tips you’d like to share or have any questions, feel free to comment and let me know. I would love to hear from you!
Until next time,