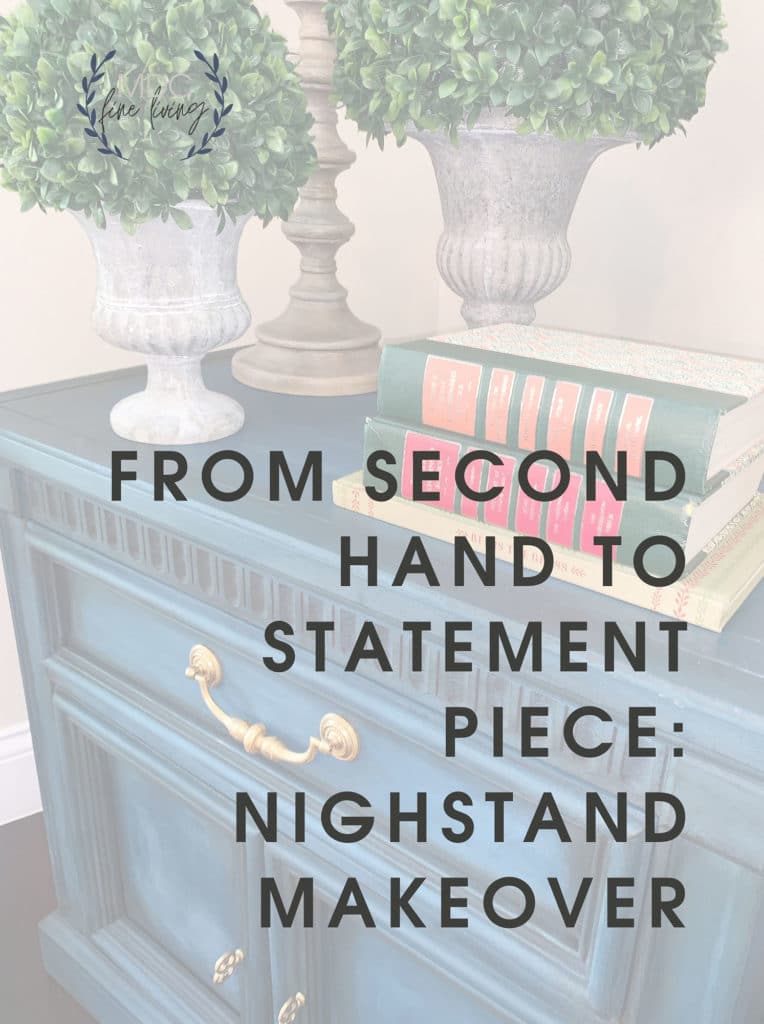
It’s no secret we love a good bargain, and when it comes to furniture, there’s nothing like finding a good quality made piece that just needs a little bit of TLC. So let’s roll up our sleeves and give it a bit of a new look to make it that statement piece.
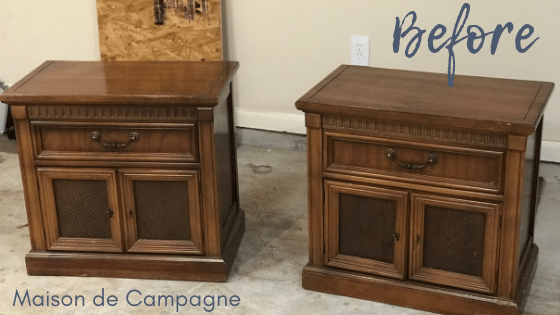
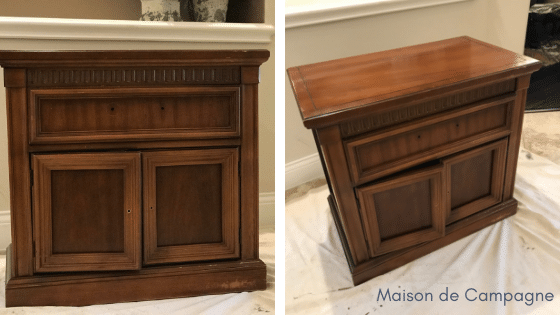
While visiting one of our local Salvation Army stores, we found a set of 1960’s nightstands that were in great shape. We were looking for some vintage pieces for one of our customers and while these were not the right look for their project, they could work perfectly for one of our home staging jobs or possibly for another design client down the road. Now, as I mentioned the nightstands were in excellent shape. And for $17.50 each it was too good of a deal to pass up. Now the question was “what look where we going to give it?” As is, they were a very traditional set of nightstands that could be used as is, however we wanted to give them a new and unique look that would make them stand out.
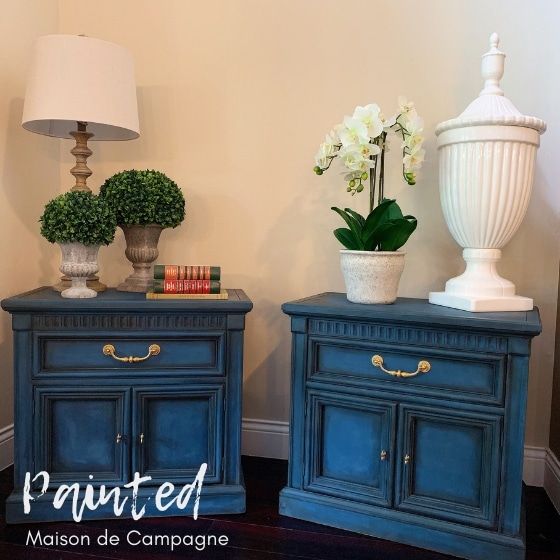
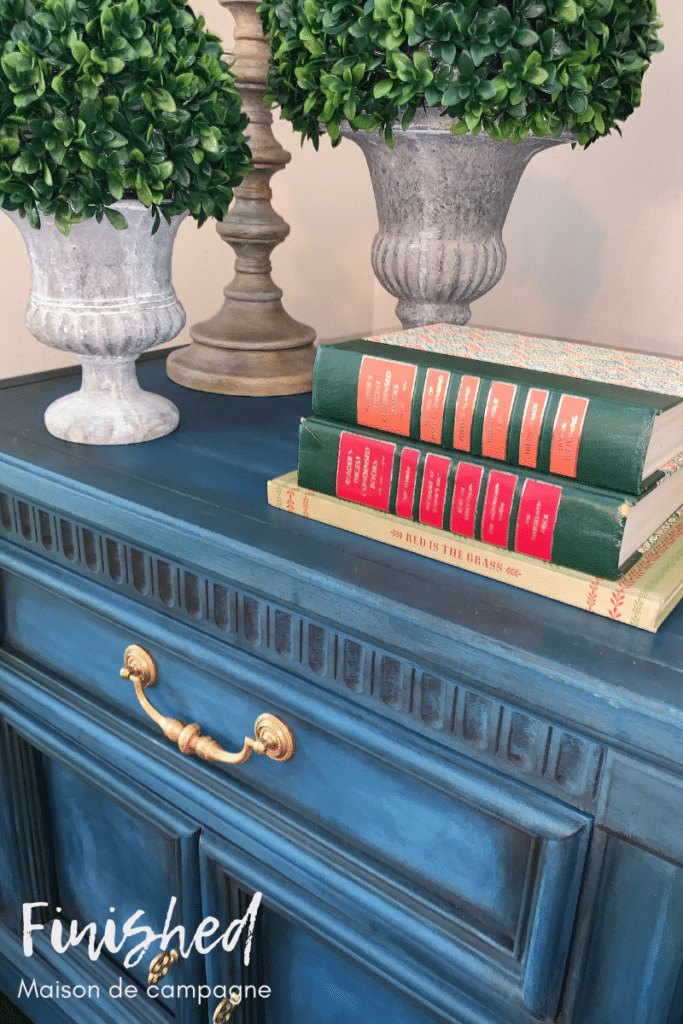
Here’s what we ended up with! What do you think?
What do you need?
- Salvaged Nightstands – $17.50/each at Salvation Army
- Annie Sloan Chalk Paint® – I used Graphite and Aubusson Blue for this look
- Annie Sloan Chalk Paint® Wax in Clear and Dark
- Gold Gilding Wax – We used this one from Amazon.
- Paint Brushes
- Rag or Cheesecloth
STEP #1 – PREP AND CLEAN
Decide what finishes you want the piece to have. Will you keep existing hardware, or replace it with something style specific? Will you leave a raw wood look, age it, stain, paint, etc. Once it’s decided what general direction we’re going, it’s time to prep.
When using Chalk Paint® there’s no need to sand the piece since the paint will adhere or “etch” into the surface but it’s really important to thoroughly clean the surface and remove any oils and/or dirt that may be present since that could cause the paint to crackle or peel afterwards. I did go ahead and sand some areas of the nightstands that had some deeper scratches so that it was smoother in those specific areas but that was it. I also went ahead and removed all of the hardware from the nightstands before moving on to the next step.
STEP #2 – APPLY BASE COAT
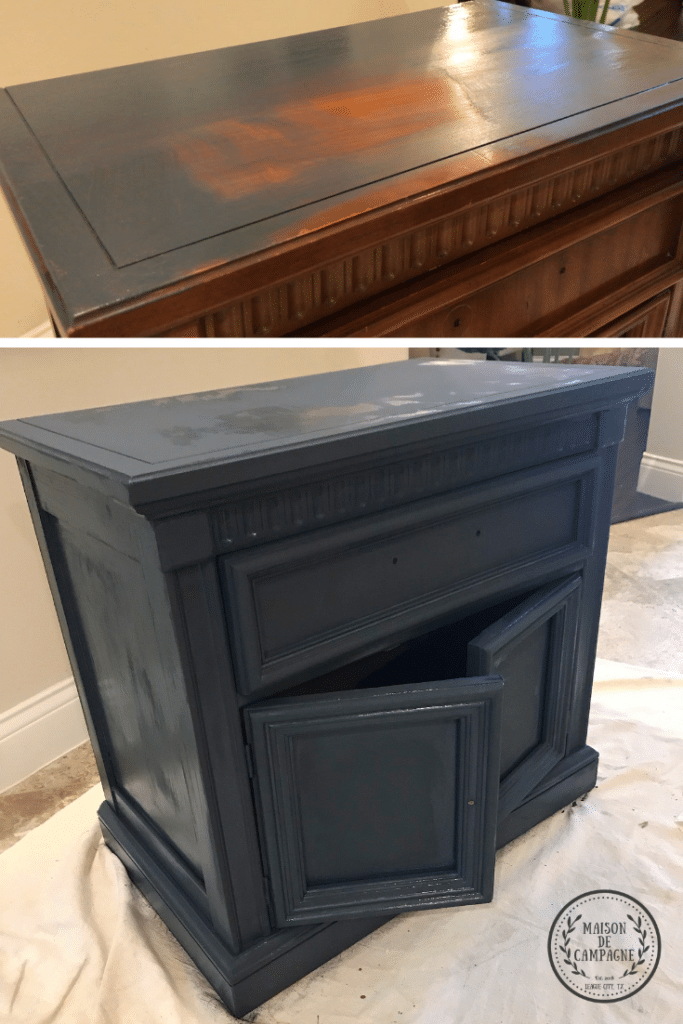 I decided to go with the Graphite as a base since this would give the maximum depth and dimension to the nightstands once I added the lighter color on top. I brushed the paint with a slightly wet brush to allow for a smoother coat and finish. I wanted some texture to the finish piece but this would be added with the additional color and wax. I applied two coats of the Graphite waiting in between coats about 30-45 minutes to dry. Once the second coat was applied I let it dry completely before moving on to the next step.
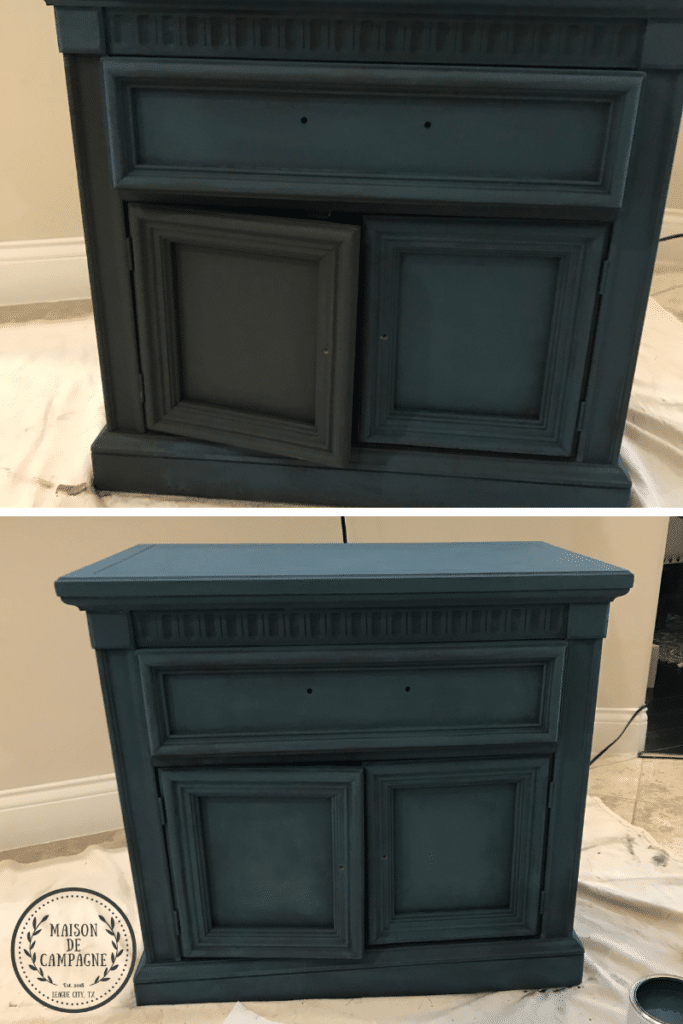
STEP #3 – COLOR AND DETAIL
Aubusson Blue is one of my favorite colors from the Annie Sloan Chalk Paint® line and I knew that I wanted to use it for these pieces. With a dry brush I started to apply the paint all over the piece and started building up the color bit by bit until the desired contrast was achieved. With this technique you have to be patient since you don’t want to completely cover the Graphite base. You will be able to see some brush strokes, particularly on the front of the drawer and doors as well as the top of the nightstand, but this is the look I was going for. If you want a smooth blend of color, you can brush the Aubusson Blue while the Graphite is still somewhat wet or water down the blue to make more of a wash. There’s no limit to what your creativity can do with these paints, which is one of the reasons I like to use chalk paints so much.
STEP #4:: TOP COAT/PROTECT
For the topcoat, I brushed on clear wax all over the piece and then went ahead with the dark wak adding it slightly heavier to the perimeter of the piece and around the crevices to add even more dimension, with a lighter hand in the center. Afterwards I buffed it with a piece of cloth until smooth and the whole piece had a bit of a sheen to it.
STEP 5: FINISHING TOUCHES
Last but not least we went ahead and thoroughly cleaned the hardware to remove years of oil and dirt built up. I could’ve gone ahead and install the hardware back after cleaning, however I wanted them to stand out more so I went ahead and used the gilding wax to achieve this. Once the hardware was installed, this project was finished.
I’d love to hear your questions, tips or comments on what you think of these nightstands makeover. Feel free to chime in, we love hearing from you.
Hope you enjoyed this post, we’ve been busy here at Maison de Campagne but have lots of great projects coming up and look forward to sharing with you all.
Until next time!